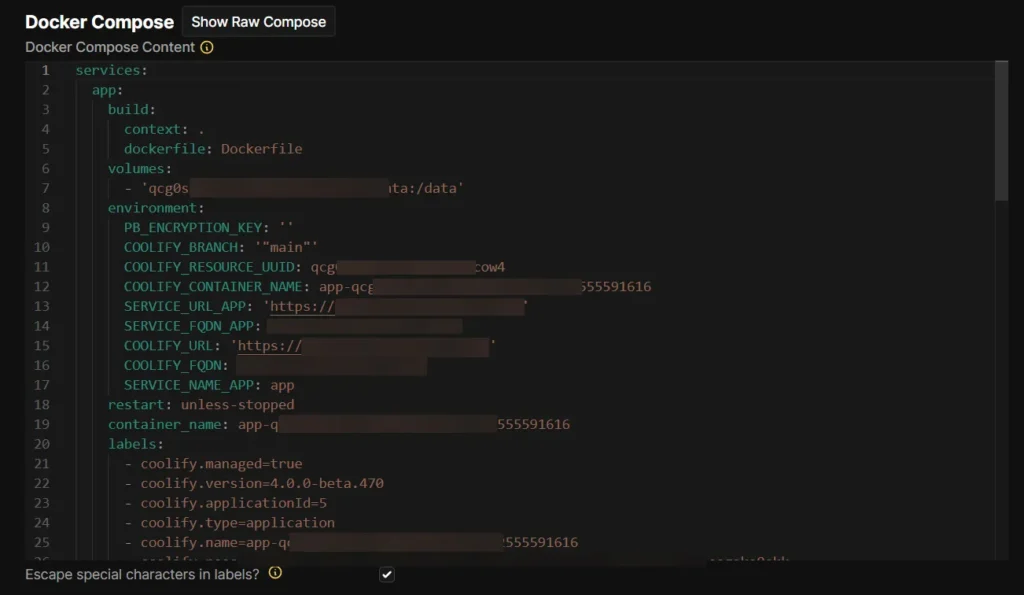
Writing a docker-compose.yml file from scratch is a massive waste of your time.
One wrong space indentation and your entire container stack refuses to boot. You spend hours searching forums for the correct environment variables just to get a simple database running.
Artificial intelligence is built for structured text like YAML. You can generate a production ready Docker setup in about thirty seconds.
Here is exactly how to do it without breaking your server.
Stop Memorizing YAML Syntax
Let us be honest about something. Memorizing the exact syntax for network bridges and volume mounts is not making you a better developer. It is just busywork.
Large Language Models like ChatGPT, Claude, and Gemini understand Docker documentation perfectly. They know the dependencies. They know the standard port configurations. They understand how different containers need to talk to each other on an internal network.
But there is a catch.
If you just type “make a wordpress docker file” into a chat box, you will get a generic output. The AI will probably use outdated image tags or expose your database port to the public internet. To get a file you can actually use, you need to be highly specific.
The Perfect AI Prompt for Docker Compose
You need to treat the AI like a junior system administrator who requires strict instructions. You must specify the image versions, the port mappings, and the exact volume paths you want on your host machine.
Copy and paste this template into your prompt. Just change the bracketed information to fit your project.
Act as a senior DevOps engineer. Write a docker-compose.yml file for a web application.

Here are the strict requirements:
1. Use the [nginx:alpine] image for the web server, mapping port [8080] on the host to port 80 in the container.
2. Use the [php:8.2-fpm] image for the application backend.
3. Use the [mysql:8.0] image for the database. Do NOT expose the database port to the host machine.
4. Put all containers on a custom bridge network named [app_network].
5. Create a named volume for the MySQL database data so it persists after restarts.
6. Mount the local directory [./src] to [/var/www/html] in both the Nginx and PHP containers.

Do not explain the basics of Docker. Just provide the YAML code.
By giving the AI the exact folder structures and network names, you eliminate the guesswork. The resulting code will be incredibly close to what you need for a live deployment.
Watch Out for These AI Hallucinations
I use this workflow daily. But I never deploy the generated file without checking two specific things.
First, check the volume paths. AI models love to invent random host directories. You might ask for a simple database mount, and the AI will create a complex nested folder structure like ./app/data/mysql_secure/ when you actually just wanted ./db_data. Always verify where your persistent data is going before you spin up the containers.
Second, verify the environment variable names. This is where models make the most mistakes.
A MySQL container specifically expects MYSQL_ROOT_PASSWORD to configure the database on the first run. Sometimes the AI will hallucinate and write DB_PASSWORD instead. Your container will crash immediately on startup because it lacks the required configuration. If a container keeps restarting, check the official Docker Hub documentation for that specific image to confirm the variable names.
How to Test Your Generated File
Never run an AI generated file on your production server first.
Save the code to a file named docker-compose.yml on your local machine. Open your terminal in that directory and run:
docker compose up -d
Watch the terminal logs. If the command fails, do not try to fix the indentation or the syntax yourself. Copy the exact error message from your terminal and paste it directly back into the AI chat.
Tell the AI: “Correct the YAML file based on this error message.“
It almost always fixes the problem on the second try. You get a perfectly functioning local environment, and you did not have to write a single line of YAML yourself. That is how you use AI to actually speed up your development workflow.
